bufferedTable
The bufferedTable widget displays data in a table rendered using the R Shiny DT package, itself a wrapper of the well-developed DataTables javascript library. These tools are tried and true - you don’t need to fuss to quickly make a well-formatted table.
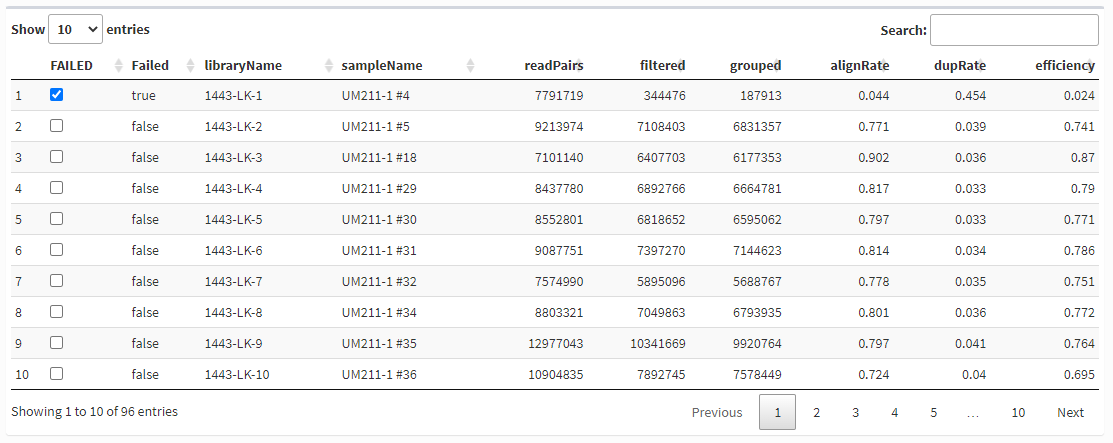
The MDI widget makes it even easier to render tables well and avoids pitfalls that can sometimes lead to undesirable behavior.
bufferedTable places its output table into a shinydashboard box() with optional links for downloading table data as a CSV file that can be opened in Microsoft Excel.
The module also provides support for embedding user inputs into a tabular display.
bufferedTableUI options
The bufferedTableUI function takes the following arguments in addition to ‘id’:
# bufferedTable_ui.R
bufferedTableUI <- function(
    id,
    title = NULL,
    downloadable = FALSE,
    ...
)
where:
- title = the title for the box
- downloadable = if TRUE, add a link to download table data as a CSV file
- … = additional arguments passed to shinydashboard
box()
bufferedTableServer options
The bufferedTableServer function takes the following arguments in addition to ‘id’:
# bufferedTable_server.R
bufferedTableServer <- function(
    id,
    parentId,
    parentInput,
    tableData,
    editBoxes = list(),
    selection = 'single',
    selectionFn = function(selectedRows) NULL,
    options = list()
)
where:
- id = the id of the table widget
- parentId = the id of the module loading the widget
- parentInput = the
inputobject passed from the module loading the widget - tableData = reactive, or function with no arguments, that returns the table data
- editBoxes = e.g., list(editBoxId = list(type=c(‘checkbox’,’textbox’), handler=function(d), boxColumn=1, [rawColumn=2])); see below
- selection = from DT, whether to allow row selections as ‘single’, ‘multiple’, or ‘none’
- selectionFn = a function to call whenever the user performs updates row selection(s)
- options = passed as is to renderDT; see below
bufferedTableServer return values
The module returns a list as follows:
# bufferedTable_server.R
list(
    rows_selected = reactive({ input[[selectedId]] }),
    selectRows = function(rows) selectRows(proxy, rows),
    updateCell = updateCell,
    buffer = buffer
)
where:
- rows_selected = the DT value of the same name; an alternative way for caller to react to row selections
- selectRows = a method, i.e., function, for setting the row selection
- updateCell = a method, i.e., function, for setting the value of a data cell
- buffer = the cached, i.e., buffered version of the table data
Of these, only rows_selected is commonly used.
Using the widget
First, place an instance of the bufferedTable widget in your UI (only widget-related code is shown):
# <scriptName>_ui.R
bufferedTableUI(
    ns('id'),
    title = "My Table"
    downloadable = TRUE
    # ...  arguments passed to box()
)
Then activate the table in the matching server and provide the data to fill the table, plus any added features of interest:
# <scriptName>_server.R
myTableData <- reactive({
    data.frame(...)
})
myTable <- bufferedTableServer(
    'id',
    parentId = id, # id and input are passed from <scriptName>Server
    parentInput = input,
    tableData = myTableData
    # ...
)
DT vs. DataTable options
The most confusing thing about renderDT (and thus bufferedTable) is the options argument. The critical thing to understand is that the values you set in options control the behavior of the DataTables javascript library to which they are passed - not DT itself.
Thus, the values you set in options correspond directly to DataTables huge list of options. Please use that page as your reference for things you can do to your table. Again, these values are handled in javascript on the client, not in R on the server.
The following example shows some of the more commonly used DataTable options:
# <scriptName>_server.R
myTable <- bufferedTableServer(
    # ...
    options = list(
        paging = TRUE, # whether to split the table over multiple "pages"
        pageLength = 10, # the starting length of a single page
        lengthChange = TRUE, # allow user to change the length of a page
        lengthMenu = c(10, 25, 50, 100), # the page lengths offered in the menu
        searching = TRUE, # whether to show the table search input [TRUE]
    )
)
Not all DataTables options work well with Shiny. Stick to the options listed above or be prepared for possible troubleshooting. See this page for more information.
Handling row selections
There are two ways to react to a user’s row selections.
First, provide a value for argument selectionFn, which is any function with a single argument that is a numerical index of the selected table rows.
Alternatively, you may access the rows_selected reactive found in the list returned by bufferedTableServer, which provides the same numerical indices of selected rows.
Placing inputs into bufferedTables
A nice feature of bufferedTable is that it makes it easy to put certain user inputs into your table, as communicated with the editBoxes argument, which is a named list where each element specifies a single column of inputs with one input per table row, and the values in each element describes the input:
# <scriptName>_server.R
bufferedTableServer(
    # ...
    editBoxes = list(
        myId = list(
            type = 'checkbox', # or textbox
            handler = myFunction(d) return(d), # see below
            boxColumn = 1 # the table of the column for the inputs
        )
    )
)
handler is a function that takes a single argument to receive the information about a change in the value of one instance of the input, which is a list of format:
# as defined in getTableEditBoxData()
list(
    selectedRow = as.numeric(parts[2]), # numerical row index
    newValue = parts[5] # the new state of the input
)
You may do anything you’d like with or to the object, as long as your handler returns the object back to the bufferedTable module.
Additional references
For more detailed views of the module’s code, see:
For a complete working example, see: